How to Fax from iPhone Without a Fax Machine
A no-nonsense walkthrough for sending a fax from your iPhone: scan or attach the document, enter the number, send, and hang on to the confirmation.
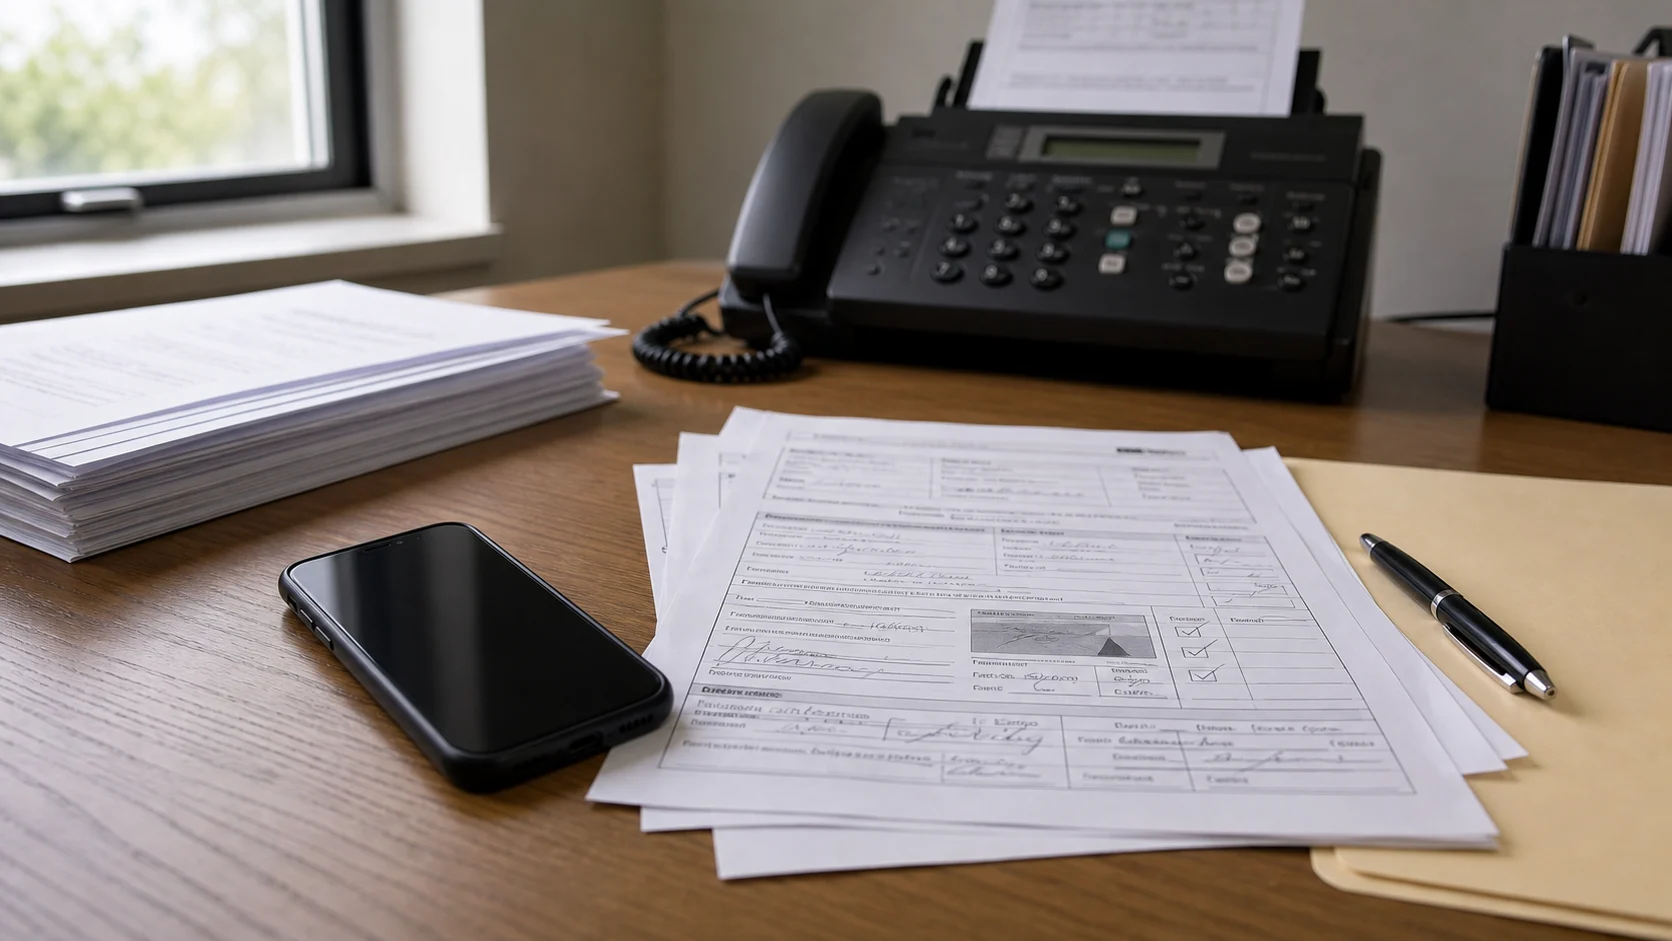
You don’t need a fax machine, a landline, or a trip to the office-supply store to send a fax. Everything happens on the phone already in your hand: turn the document into a clean file, type the recipient’s fax number, send it through a fax app, and save the confirmation.
If you’re only sending one document, this is closer to emailing an attachment than to wrestling with office equipment. If the file is already prepared, use the shorter guide to faxing a PDF from an iPhone. If you still need to choose the software, compare the best fax apps for iPhone. Otherwise, here’s the whole process from start to finish.
What you need first
Three things, really:
- The document - a PDF, a photo, a scan, a form, or a page you’ve signed.
- The recipient’s fax number.
- A fax app that sends from iPhone.
If the document is still on paper, scan it before you start. You don’t need a separate scanner app for this: iPhone can do it from Notes. Open a note, tap the camera or more button, choose Scan Documents, line up the page, and it captures automatically - then you can save the scan to Files and pull it into your fax.
Apple's steps for this are here: How to scan documents on your iPhone or iPad (via the Notes app).
Fax from iPhone, step by step
Open your fax app
Start a new fax and decide whether you're scanning a paper page or attaching a file you already have.
Add the document
Import a PDF, take a photo, or scan the pages right there. Multiple pages? Add them in the order the recipient should read them.
Look at the preview
This is the page the other end actually receives. Check that the text is sharp, nothing's cut off, and the order is right.
Enter the fax number
Copy it exactly from the company, clinic, notice, or form - including the area code, and the country code if it's international.
Send
Tap send and give it a moment. Fax transmission isn't instant, so let the app finish rather than closing it right away.
Save the confirmation
Keep the delivery status or receipt - especially for anything medical, legal, tax, or insurance-related. It's your proof it went through.
The small things that make a fax fail
Faxes fall over for dull, avoidable reasons. Before you tap send:
- Confirm the number is complete, area code and all.
- For an international fax, double-check the country code.
- Retake any scan that’s dark, blurry, tilted, or cropped at the edge.
- Put signed pages in the right order.
- Add a cover page only if the recipient asked for one.
- Don’t delete the confirmation until the other side says it arrived.
Can you fax from iPhone for free?
Sometimes - but read the fine print. Most fax apps are free to download; sending is where a trial, a page limit, or a subscription usually appears. #Fax lets you send your first faxes free, which is why it’s a reasonable pick when you just need one document out the door. For the fuller picture, see our guide to the best free fax apps for iPhone.
Do you need a printer? No.
If the file is already digital, attach it as-is. If it’s on paper, scan it with your phone. If it needs your signature, sign it first and send the final version - no printing anywhere in that chain.
After you send
Don’t wipe everything the second it’s gone. Keep the sent record, the file you sent, and any confirmation screen. If it was time-sensitive and you don’t hear back, a quick follow-up call beats assuming it landed.
That’s it - with the document and the right number, a fax from your iPhone takes a couple of minutes. Keep the scan clean, get the number exactly right, and hold on to the proof.